OVERVIEW
Lp+365 content can be accessed offline on your desktop and mobile. This document explains the simple process of setting up your Windows 10 device so you can access your content using OneDrive. OneDrive is built into Windows 10.
MY DOCUMENTS
-
To make your personal documents available offline select the “My Documents” title on the Apps homepage.

-
Select the “My Documents“ title on the reverse of the tile.
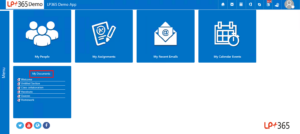
- Select “Sync”.

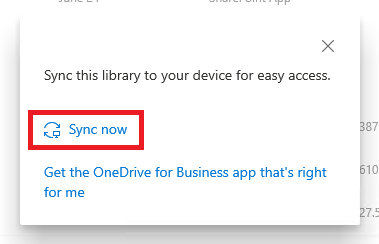
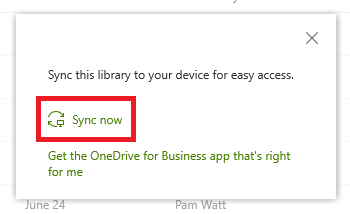
- Select “Sync now”
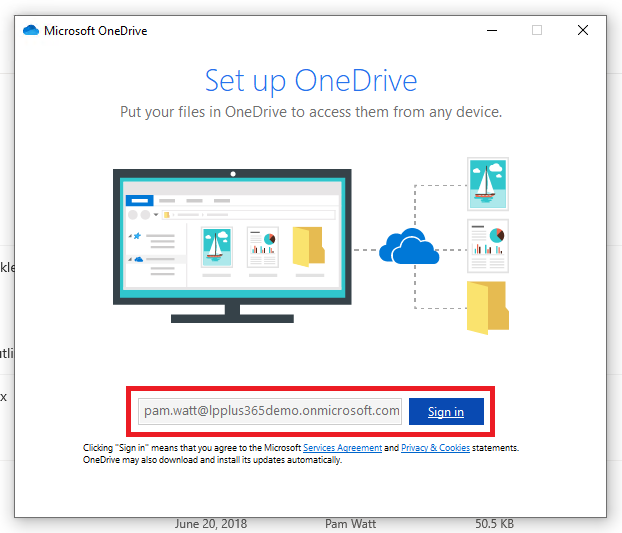
- Confirm your email address, select “sign in” and enter your password when prompted.
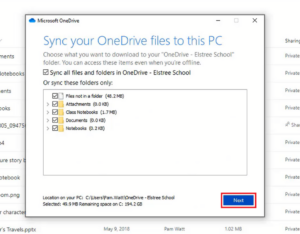
- The path where your files will be stored is displayed and can be changed by selecting change location. Select “Next”.

- Untick any items you do NOT want to download for offline use. Select “Next”.
- The next screens walk you through OneDrive’s features. Select “Open my OneDrive folder” on the final screen.
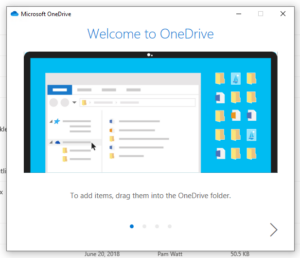

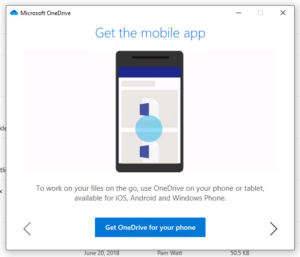
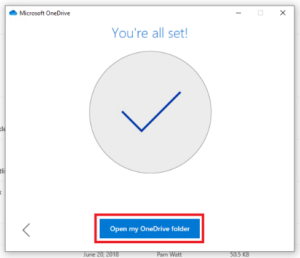
- Your “My Documents” are now mapped to your machine and can be accessed in file explorer.
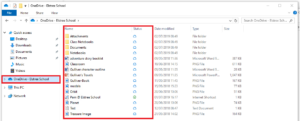
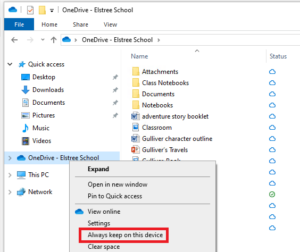
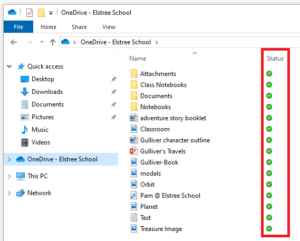
- Right click OneDrive in windows explorer and select “Always keep in this device”. The status icons for each folder/item will change to a green circle with a tick. This indicates that all of your items are now synced and available to access offline.
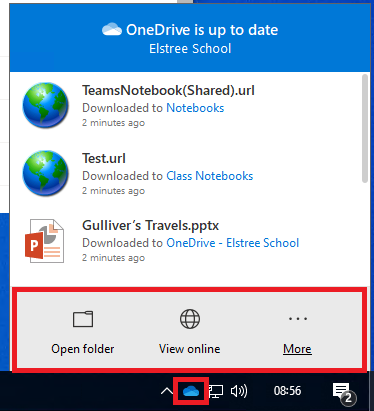
- You can access your OneDrive online content and settings by selecting the OneDrive icon in your system tray.
CLASSROOM DOCUMENTS, VIDEOS & PICTURES
- To make your classroom documents available offline, select the classrooms “Documents” title.

- As you have already configured “My Documents”, the process to add other libraries is much shorter.Select “Sync” and “Sync now”.Right click you class file in file explorer and select “Always keep on this device”. The status icons for each folder/item will change to a green circle with a tick. This indicates that all of your items are now synced and available to access offline.

Pictures and Videos can by made offline in the same way by selecting the tile title and following the same steps.


